 SULTHAN ELIZA


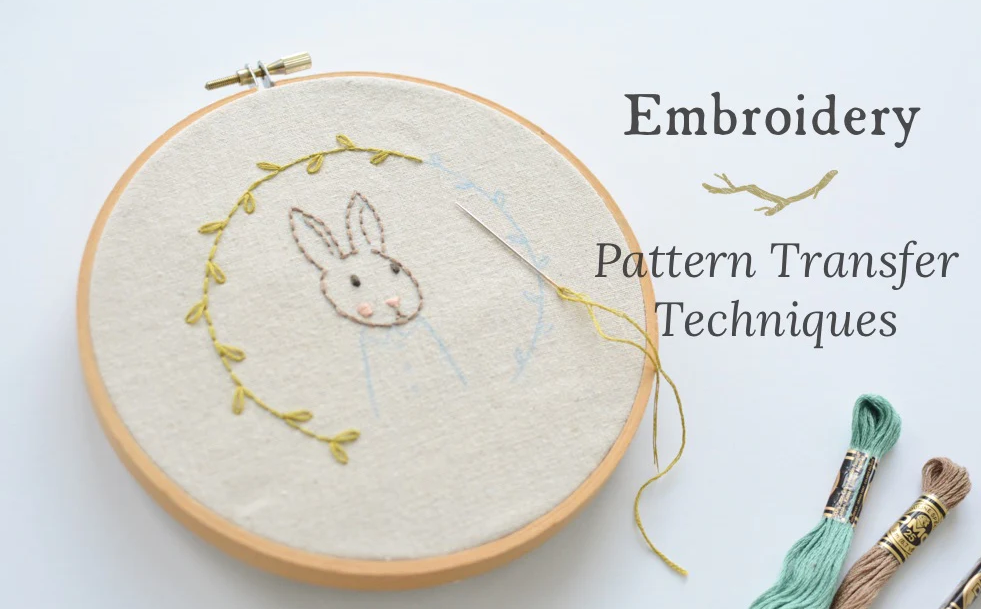
Embroidery pattern transfer technique
Mastering Embroidery Transfers: A Guide to Transferring Designs onto Fabric
Embroidery is an art form that combines creativity with precision, and transferring your design onto fabric is the first step in bringing your vision to life. Whether you're working with delicate cotton or thick wool, choosing the right transfer method is crucial to achieving beautiful results. Below, we’ll explore various techniques to help you transfer your embroidery patterns onto fabric with ease and accuracy.
1. Tracing Directly onto Fabric
How it Works:
Draw the embroidery design directly onto the fabric. This simple, direct method does not reverse the image.
When to Use This Method:
This technique is ideal for lightweight, light-colored fabrics that are semi-transparent when held up to a light source.
How to Do It:
- Tape the pattern to a window or light box.
- Position the fabric over the pattern so that the lines are visible when the light shines through. If the lines are too faint, trace over them with a fine-tipped black marker.
- Tape the fabric in place.
- Trace the design onto the fabric using a fine-tipped, washable fabric pencil, marker, or mechanical pencil. The fine lines will be covered by the embroidery thread as you stitch.

2. Using Transfer/Carbon Paper
How it Works:
Pigment from the transfer paper is pressed onto the fabric using a pen or stylus. This method does not reverse the image.
When to Use This Method:
Transfer paper is excellent for copying patterns onto a variety of colors or thicknesses of fabric with a flat surface. It’s not ideal for fuzzy fabrics like wool. Use light-colored transfer paper for dark fabrics.
How to Do It:
- Choose a transfer paper color that contrasts well with your fabric.
- Place the transfer paper on the fabric with the pigment side down.
- Position the embroidery pattern on top of the transfer paper, right side up.
- Trace over the design using a pen, pencil, or stylus, pressing firmly to transfer the pigment onto the fabric. Practice on scrap fabric to get the pressure just right.

3. Tracing Paper Method
How it Works:
Create a pattern template on tracing paper, then stitch through both the paper and fabric.
When to Use This Method:
This technique is ideal for thicker fabrics with a fuzzy surface, like wool or corduroy, where other methods may not show up well.
How to Do It:
- Trace the embroidery pattern onto thin tracing paper.
- Baste the tracing paper to the fabric, securing it in place.
- Embroider through both the tracing paper and fabric.
- Once the embroidery is complete, carefully tear away the tracing paper.

4. Heat Transfer Pen/Pencil
How it Works:
Trace over the embroidery design with a heat transfer pen or pencil to create an iron-on transfer. This method reverses the image.
When to Use This Method:
This works well on most natural-fiber fabrics with a flat surface. However, it may not show up well on very dark colors.
How to Do It:
- Trace the embroidery design with a heat transfer pen or pencil, pressing firmly.
- Position the design, traced side down, onto the fabric.
- Press with an iron at a high temperature (without steam) to transfer the image. Use a hard surface under the fabric for even pressure. Practice on scrap fabric first to understand how your transfer pen works.
5. Washaway Stabilizer
How it Works:
Trace or print the embroidery design onto a washaway stabilizer, then adhere it to the fabric. Embroider through the stabilizer and fabric, and remove the stabilizer by rinsing it away when done.
When to Use This Method:
This method works on all types of fabric, especially thick or textured surfaces like wool or dark fabrics where tracing is difficult.
How to Do It:
- Use a specialized washaway stabilizer, like Sulky Fabri-Solvy or Fabri-Solvy Sticky.
- Trace or print your embroidery design onto the stabilizer. If using a sticky version, you can print the design directly from your computer.
- Baste or adhere the stabilizer to the fabric in the desired position.
- Embroider your design through the stabilizer and fabric.
- Once embroidery is complete, rinse or wash the fabric to dissolve the stabilizer.

Conclusion
Experimenting with these transfer methods will help you find the ones that best suit your embroidery projects. Each technique offers unique advantages depending on the fabric and design you’re working with. By mastering these methods, you’ll ensure that your embroidery designs are transferred accurately, setting the stage for beautifully finished pieces.
Comments (0)


.jpg)


Sign Up to Our Newsletter

Secure Payment


Follow Us


The Copyright @ 2026 epatternz.com All rights reserved.


