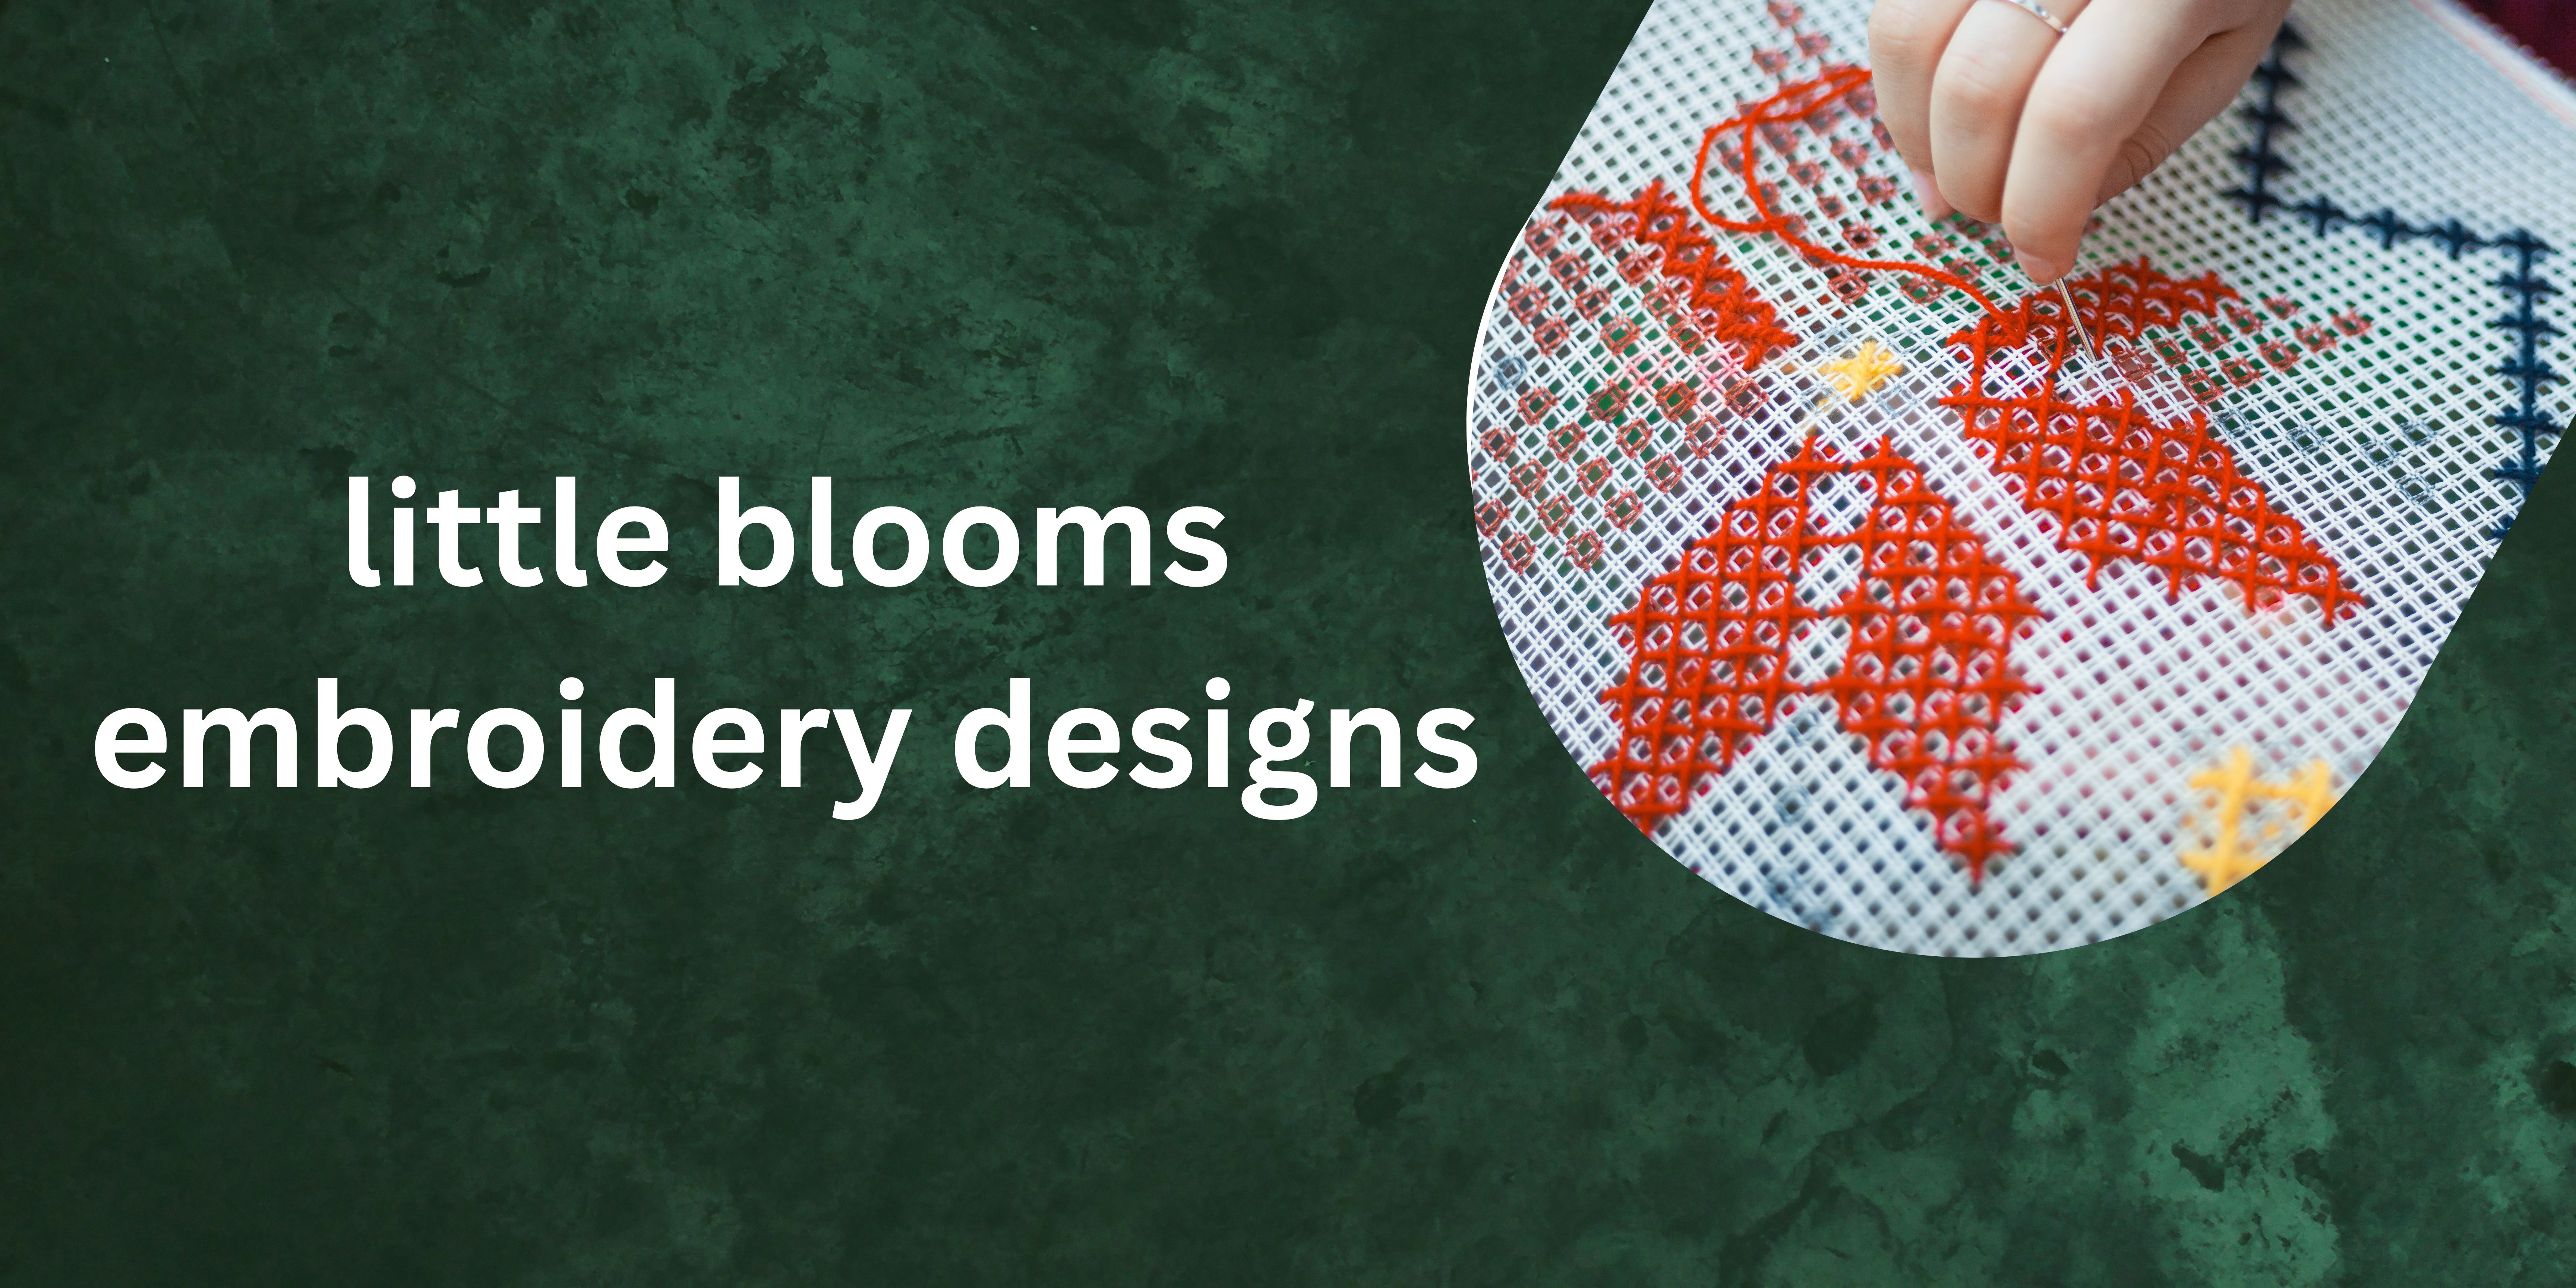
 unique fashion


The mini snap purse we’re going to make in this stitch-along is mini. It’s finished dimensions are approximately 3.5″ (or 3 5/8″) wide x approximately 3″ high.
Materials Needed:
Ground Fabric: 45-count natural-colored linen (or similar fabric like cotton or a linen-cotton blend), cut to about 8″ x 12″.
Lining Fabric: Quilting cotton in a coordinating color scheme, cut to 5″ x 9″.
- Thread: DMC cotton floche or two strands of DMC stranded cotton floss in the appropriate colors.
- Needles: #7 embroidery needle and #26 tapestry needle.
- Closure: 10mm sew-on magnetic snap or another closure of your choice.
- Embroidery Hoop or Frame: 5″ embroidery hoop or an 8″ x 11″ stretcher bar frame.
- Scissors: Small embroidery scissors.
- Thread Organizer: Thread drops, thread keep, or any method you prefer for organizing your threads.
- Transfer Tools: Paper-piercing tool, foam mat, Micron art pen (size 005 or 01 in black or gray).
Tools & Extras
Essential Tools:
Needles:
Embroidery Needle: A #7 embroidery needle is ideal for working with DMC cotton floche or two strands of DMC stranded cotton floss.
Tapestry Needle: A #26 tapestry needle is useful for finishing tasks, such as weaving in loose ends or working on finer details.
Scissors:
- Embroidery Scissors: A small, sharp pair of embroidery scissors is essential for cutting threads with precision. Look for scissors with fine points to easily snip close to the fabric without damaging it.
-
Hoop or Frame:
- Embroidery Hoop: A 5″ hoop is perfect for holding the fabric taut while you stitch. Make sure the hoop fits your fabric size and the area of the design you’re working on.
- Stretcher Bar Frame: An 8″ x 11″ stretcher bar frame is an alternative to a hoop, offering a stable and tensioned surface for stitching.
-
Thread Organizer:
- Thread Drops: Use thread drops to keep your threads organized and tangle-free. You can create your own or purchase ready-made options.
- Thread Card or Keep: A thread card or keep can help you manage your colors and keep track of which threads are in use.
-
Fabric Marking Tools:
- Micron Pen: A Micron art pen in size 005 (.20mm) or 01 in black or gray is excellent for transferring designs with precision. It leaves a fine, permanent line that won’t smudge during stitching.
- Pencil: A soft pencil is useful for drawing guidelines and marking fabric. Ensure the pencil marks are light enough to be covered by stitching.

Pattern and Design Download and Preparation
Save the PDF to your computer and then print from the PDF on your computer. Choose “actual size” from your printer dialogue box to ensure that the design prints so that the pouch outline is approximately 3.75″ wide and 8″ long.
There are notes on the PDF about the pattern and its various parts.

Transfer Method
I chose this method for a couple reasons: 1. it’s a good method to use on fabric that’s a little darker and harder to see through, if you’re accustomed to tracing; and 2. it’s an opportunity for you to try another method of transfer if you’ve never transferred a design in a similar way.
You are welcome to use whatever transfer process you like, though! I’m just going to explain how I did it, in case you want to try it.
First, I pierced the embroidery design using a paper piercing tool and some foam mats. If you don’t have a paper piercing tool, no problem! You can make your own by sinking the eye of a needle into something that will hold it and that’s comfortable for you to hold.
I used a #20 chenille needle and an artist’s eraser to make a homemade paper-piercing tool. A #3 or #5 embroidery needle would also work. A cork – from a wine bottle or a craft cork – would work well as a handle, too.
For the pricking mat, I usually use a larger sheet of craft foam from a hobby store (in the kids’ craft section). I cut it into fourths and stack them so that it’s nice and thick. This makes a perfect pricking mat, and it’s affordable. You can also use a sheet of styrofoam if you can stand the feel and sound of sticking a needle repeatedly into styrofoam!
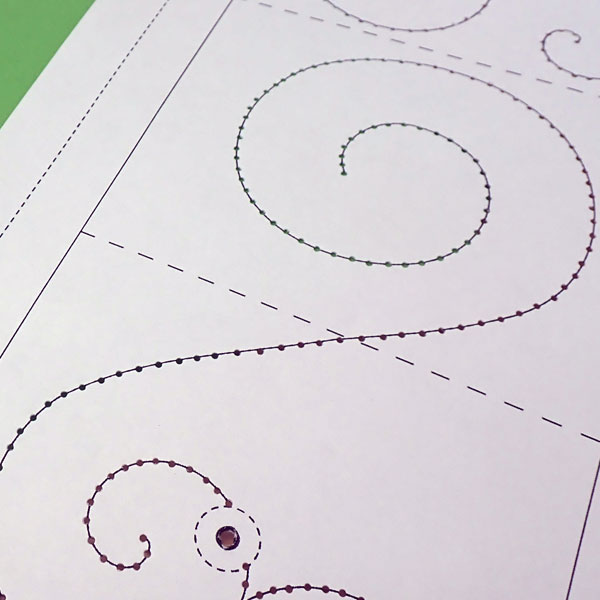
Using your paper piercer, prick the embroidery design at about 1/8″ intervals, following the scroll pattern. Don’t prick the seam lines of the design.
To prick the design, hold the tool straight up and down, perpendicular to the paper, and pierce each hole just once.

When you’re finished, you’ll see a nice dotted swirly design on the paper.
Now you’re ready to set up the fabric to do the transfer.
First, cut the pattern out of the paper, cutting along the seam lines (the solid lines that mark the perimeter of the pouch).
Be careful when cutting the arched flap. Cut smoothly, right on the solid cutting line.
Preparing the Design:
-
Download the Pattern:
- Save the PDF design of the Little Blooms to your computer and print it at “actual size” to ensure correct dimensions.
-
Prick the Design:
- Use a paper-piercing tool to prick the design at 1/8″ intervals along the lines of the embroidery pattern. This will create a dotted outline of the design on the paper.
-
Draw Guidelines on the Fabric:
- Center the cut-out pattern on your fabric. Draw straight guidelines on the fabric to ensure the pattern is aligned correctly on the grain. Use a pencil to mark where the pattern edges meet the fabric.
-
Pin and Trace:
- Pin the paper pattern to the fabric. Carefully trace the arched flap of the pattern with a pencil. The pencil lines can be dark enough to see but will be covered by stitching later.
-
Transfer the Design:
- Using a Micron pen, dot inside each pierced hole to transfer the design onto the fabric. Ensure the dots are visible but not overly dark.

You’ll need to manipulate the fabric a little bit, probably, but your paper and your fabric should both be flat, not rippled or wavy in any way. Start pinning at the short side and pin up along the long sides as shown in the photo above.
Now, you can trace the arch carefully with a pencil. Even if this line is a little dark (not horribly dark, but dark enough to easily see), that’s ok. The seam lines will be sewn over and not visible on the finished pouch.

Using a Micron pen in size 005 (.20mm) in black or gray, transfer the design by dotting inside each pierced hole in the pattern.
You can lift the arched flap up to see if your design dots are transferring dark enough for you. If they aren’t, let the pen tip linger on the fabric a tad bit longer.
Work your way over the whole design this way.

.jpg)


.jpg)

).jpg)


